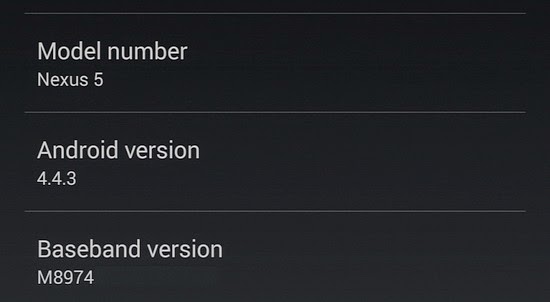
First of all just download Nexus Root Toolkit 1.8.3 from here, here or here. Install it, run it and select your Nexus model type. Enable 'USB Debugging' on your device, then choose 'Flash Stock + Unroot' and select build KTU84L. Follow the onscreen instruction and that's all. After that you can easily unlock and root your device.
Important: this upgrade will wipe all user data, so better make a back-up first.
Successfully tested earlier today on my Google Nexus 4 LG 960.
About KitKat 4.4.3
Among a number of bug fixes and design changes, the biggest
update introduced by Google Inc. (NASDAQ:GOOGL) in Android 4.4.3
(KTU84L) is a redesigned Dialer app, used to make phone calls and access
contacts. With Dialer version 1.1, Android users still view their most
“favorite” contacts -- those whom they contact the most often -- but in
Android 4.4.3, they can rearrange their favorites and access all of
their information directly from the app.
The blue telephone icon still loads the Dialer app in
Android 4.4.3, but users can customize their favorite contact cards by
pressing and holding, what is known as a long press, to rearrange their
position in the app. The three dots that appear throughout Android,
called an overflow button, now appear on contact cards as well, allowing
users to access more information, including phone number, email address
and the option to send a text message.
Google also fixed a number of Bluetooth issues in Android
with version 4.4.3, sometimes caused by connecting to wearables like
smartwatches and other devices using Bluetooth Low Energy (BLE)
technology. The playback of lossless (.FLAC) audio files was improved,
as well as certain errors that could cause the operating system to
reboot.
This program will automatically bring together all the files you need
to unlock and root your device in a few clicks, or flash it back to
stock and re-lock it. You can also use this program to backup/restore
all your important data, flash zips, set file permissions, push and pull
files, install apps, generate logcats/bugreports, and much more! With
the included file association options, you can perform tasks like
flashing zips, installing apps, restoring android backup files, and
flashing/booting img files with just a double click! The program
includes a full featured interface for automating tasks in TWRP,
enhanced restore features, an in-built auto-updater/notification system,
‘any build’ mode, advanced restore features,’NRT- Live Log’ for viewing
the adb/fastboot cmds that are run in the background, quick tools
utilities, and tools for taking screenshots/screen-recordings. All the
latest Android builds and Nexus devices are officially supported
including the new Nexus 5, with full KitKat support for all the newly
upgraded devices. The program intelligently and selectively downloads
the files it needs for your device and makes sure you are using the
latest files available. The program can even auto-detect your device
and build. The main changes in this release are full 4.4.3 support,
improvements to the updater, fixes to the Philz Advanced Recovery
integration, and general code enhancements and optimizations.
Supported Nexus devices:
· Galaxy Nexus: GSM Models (both yakju and non-yakju builds)
· Galaxy Nexus: CDMA/LTE Verizon Models
· Galaxy Nexus: CDMA/LTE Sprint Models
· Nexus S: Worldwide, i9020t and i9023 Models
· Nexus S: 850MHz, i9020a Models
· Nexus S: Korea, m200 Models
· Nexus S 4G: d720 Models
· Nexus 7: Asus Tablet
· Nexus 7 3G: Asus Tablet
· Nexus 7 v2 (2013): Asus Tablet
· Nexus 7 v2 (2013) LTE: Asus Tablet
· Nexus 10: Samsung Tablet
· Nexus 4: LG Phone
· Nexus 5: LG Phone
Instructions:
1. Select the correct device and build (what you are currently running)
2. Configure your drivers if you haven’t already using the driver
guide (If you aren’t sure use Step 3 of the driver guide to test your
drivers).
3. If you need to, backup your important data.
4. Unlock your device
5. Root your device
6. Enjoy! ^_^
- Learn more about each option by mousing over the control, dynamic tooltips will provide you more information, also each button displays a message about what it does first.
- So the best way to get familiar with the toolkit is simply to press the buttons and read what it says


 5:51 PM
 danyrolux


0 comentarii:
Post a Comment